There’s lots to do on Easter Island, and to see the essential highlights, you’ll want to stay for a minimum of 3 nights and two full days. If you’re a first time visitor and can swing at least a 5 day visit, that’s ideal to see most of the island, but if your time is limited for whatever reason, listed below are what I feel are the can’t-miss stops. For more in-depth information on these sites and all the others, get yourself a good guidebook: A Companion to Easter Island by James Peterkin. It’s excellent. Mr. Peterkin, an inhabitant of the island, also has a small tour company that does excursions all across the island, so look him up if an organized tour is something that interests you.
*Rule number 1 of Easter Island: don’t touch the moai.
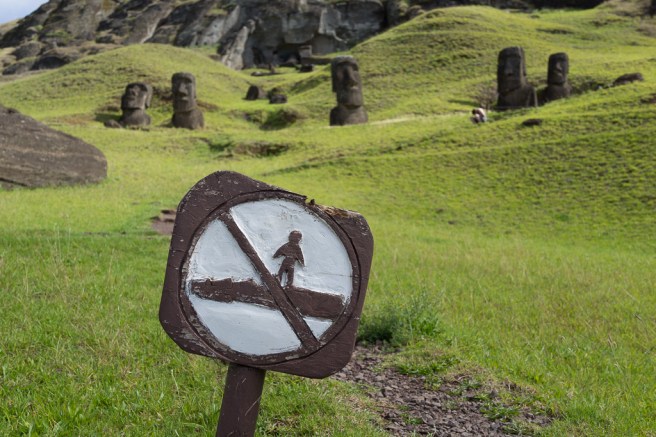
Don’t touch the platforms either. If you see any dirtbags laying their greasy hands on the heads, please report them to the park employees. Fines for vandalism can be quite hefty.
Here are the must-see places on the island:
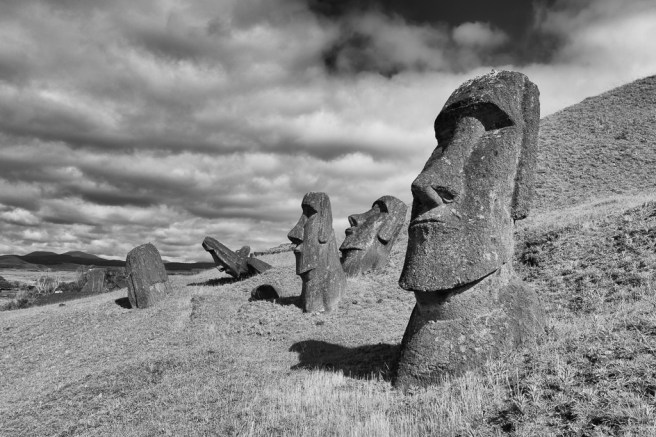
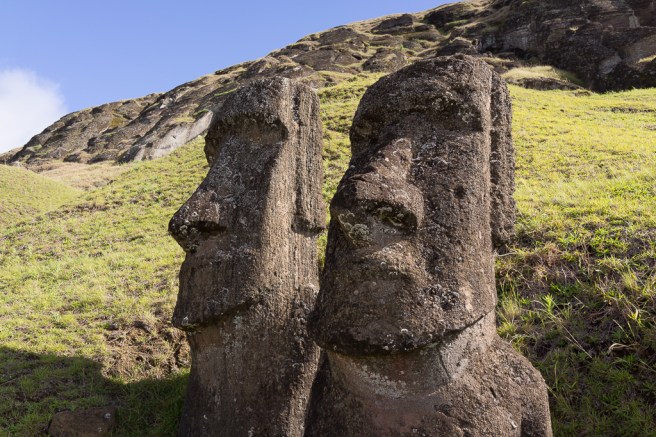
1) Rano Raraku. The rock quarry where all the moai were originally constructed before being hauled off to other parts of the island for display. If I could pick only one site to see in all of Easter Island, this would be it. Rano Raraku should be your number one sightseeing priority if you don’t have much time on the island. Plan to spend at least a few hours here to walk around and marvel at the nearly 400 moai embedded in the hills in various stages of development. The best time to visit is either in the morning or later in the afternoon when crowds are few.
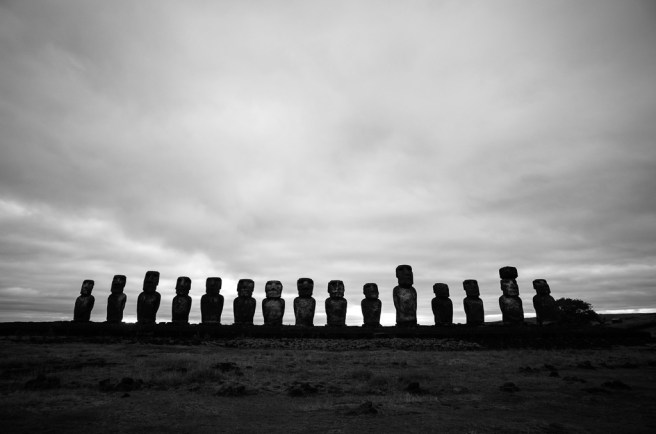
2) Ahu Tongariki. A massive platform with 15 giant moai lined up all in a row. If you’ve seen pictures of Easter Island, chances are you’ve seen Tongariki. This is a great place to watch the sunrise – it rises directly behind the platform – so try to get an early start at least one of your days to see this epic awesomeness.
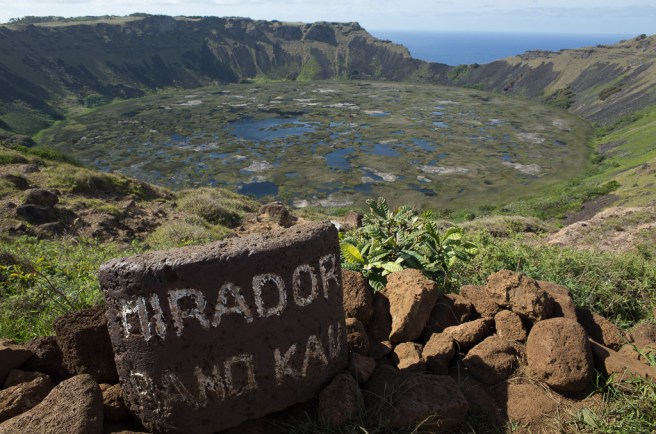
3) Orongo & Rano Kau. These two sites are bundled together. At the top of Rano Kau is a beautiful lake within the volcano’s crater that has a swiss cheese appearance. Just a short walk away is Orongo, a stone ceremonial village with some interesting history.
The best way to get here is to hike up the mountain. From the trailhead, it’s about a 1.5 mile walk up the side of the hill to get to Orongo. There’s only one trail, and it’s fairly easy to follow.

4) Tahai. There are three separate platforms here, and it’s a great spot to watch the sunset. One of the moai even has eyes attached to it. Pretty neat. It’s a short walk from Hanga Roa; you can’t miss it.
If I had only 2 full days on the island, here’s the itinerary I would recommend:
Before you go:
- Make sure you have plenty of gas in your car and enough water to last you the day.
Day 1:
- Wake up super early and drive to Tongariki for the sunrise. From Hanga Roa, give yourself at least half an hour to get there. The drive isn’t long, but due to the condition of the roads, you’ll have to drive slow.
- Around 9 AM, make your way to Rano Raraku. Spend the entire morning oohing and aahing at the heads and taking plenty of pictures.
- Drive to Anakena beach and eat lunch there. There are several places that sell food, or if you brought your own lunch, help yourself to one of the many picnic tables. Spend an hour or so walking around the sand and checking out the moai.
- Drive back to Hanga Roa, take a nap, and have dinner in town.
- Around sunset time, walk or drive to Tahai to see the sunset.
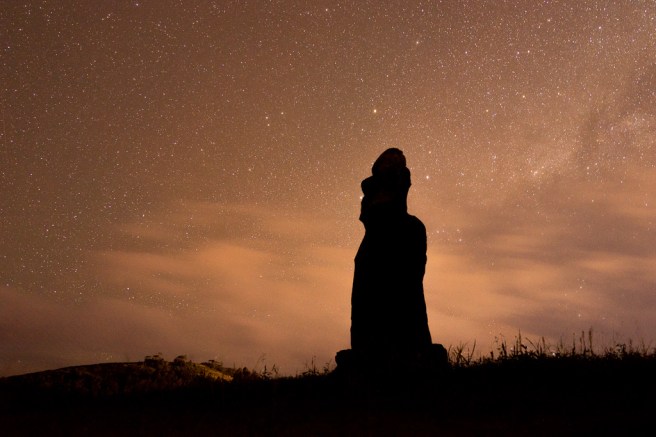
- If you have any interest in astrophotography (covered later in this article) and the sky is clear, make your way out when it’s completely dark and take some star photos.
Day 2:
- Hike up to Rano Kau and Orongo. Depending on your cardiovascular ability, this may take some time.
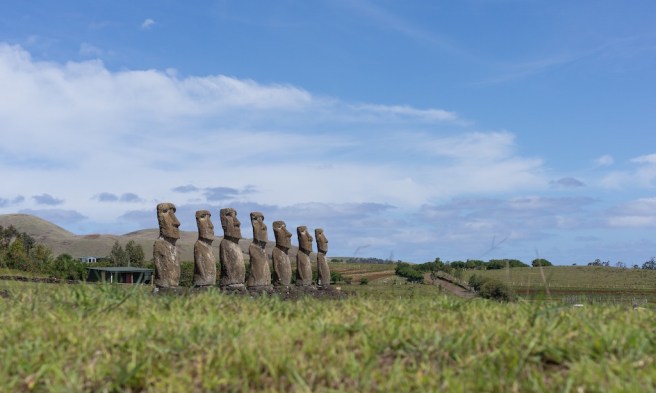
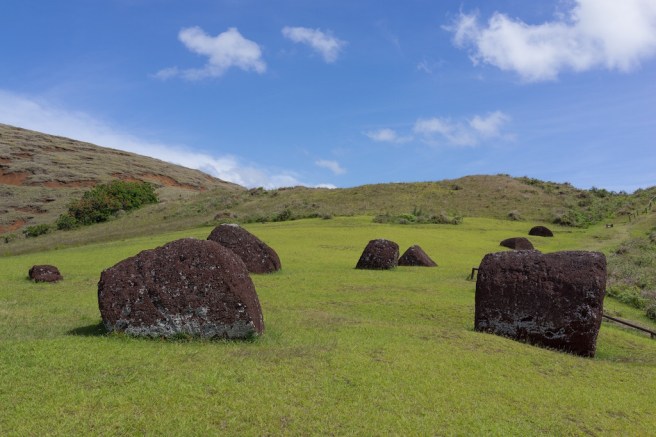
- Spend the rest of the day either driving around the island to see the other moai, or explore Hanga Roa by foot. If you have time, Ahu Akivi and Puno Pau are great sites worth a look.
- At some point, stop by the post office and get a souvenir Easter Island stamp in your passport.
Photography tips – Lens recommendations and Night photography
A little background on my amateur photography preferences: I’m a guy who only uses small cameras. Usually point and shoots. I’ve never owned a DSLR because they’re too big, and I have no interesting in hauling around a large, heavy bag of gear when I’m traveling and trying to have a good time.
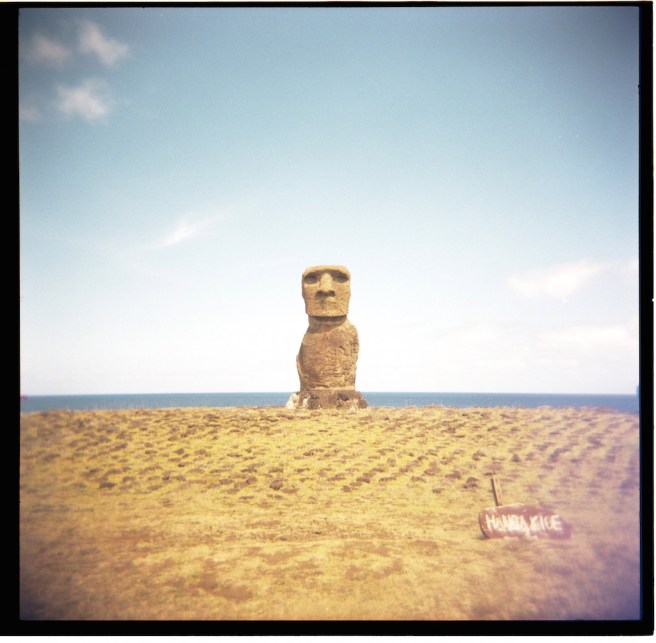
Most of the pictures I’ve posted in my Easter Island series were shot with 2 cameras: a Sony RX1 and a Ricoh GR with 21mm wide angle lens adapter. There are also a few snapshots I took with my iPhone and a Holga film camera.
My biggest photography related advice is to keep things simple; you do not need a big bag of lenses covering the entire span of focal lengths. The vast majority of my photos were shot with my RX1, which has a 35mm prime lens (i.e. it doesn’t zoom at all), and if I were to visit the island again in the future, this one camera is all I would take. A huge advantage of using one focal length is that over time, you learn the field of view of the lens and begin framing photos in your head before you pull your camera out. I’ve used the Sony RX1 for so many years that I know exactly what the picture is going to look like before I even turn the camera on. Prime lenses are awesome like that.
The one situation where the Ricoh GR’s wide angle lens came in handy was getting a shot of the swiss cheese looking lake from the top of Rano Kau (it’s one of the photos shown above), but I could have taken multiple photos with my RX1 and stitched a panorama as well. Or even easier, I could have taken a pano with my iPhone. Other than that one instance, the 35mm prime lens was perfect for all my needs.
I’m not a wildlife shooter, so I don’t own any cameras with a long zoom. You won’t really find much interesting wildlife on Easter Island anyway, so you DSLR shooters can safely keep your long lenses at home. If you have an interchangeable lens camera and are looking for more flexibility than a 35mm prime, then a common 24-70 zoom lens should be all that you need. Most of the moai on the island are easily accessible, so even though you can’t touch them, you can still walk up fairly close to get your pictures.
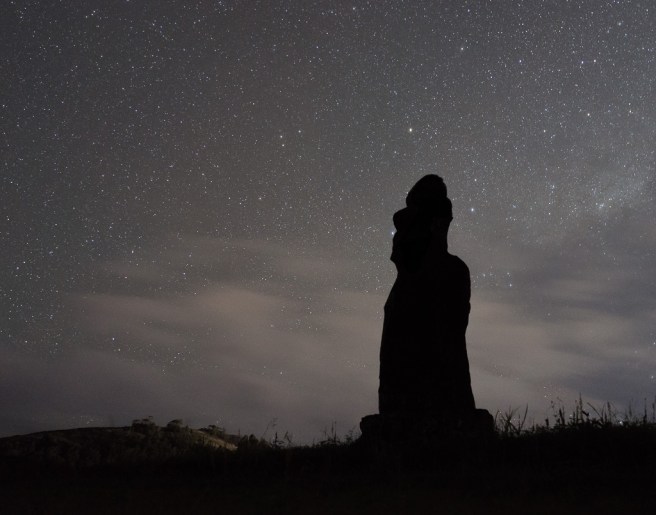
If you have any interest in taking star photos like the one shown above, then it’s easy to accomplish, as there isn’t much light pollution on the island once you leave Hanga Roa. You’ll need a few things to get a photo like this:
- Good weather with relatively clear skies
- A tripod of some kind
- A camera with manual mode, manual focus, and a decent sensor. An APS-C or full frame sensor is ideal. Anything smaller than that will be suboptimal for night photography.
The above photo was shot with a Sony RX1 with the following settings: f 3.5, 30 second exposure, ISO 3200, manual focus set to infinity, and RAW mode. I placed the camera on a small 4 inch pocket tripod, set it on the ground, and set the release mode to a 2 second timer so I wouldn’t cause camera shake when I pressed the shutter button. The exact exposure settings usually require some trial and error to get right, but the above is a good starting point. You’ll want to keep the shutter speed under 30 seconds if you want your stars to look like sharp points. As the earth slowly rotates on its axis, the night sky consequently appears to rotate when viewed from a fixed point on the surface of our planet, so anything longer than a 30 second exposure will make the stars look blurry even if your camera is rock solid stable.
It’s critical that you shoot in RAW mode so you can fix the color of the night sky when you eventually process your photos. The sky will rarely look correct straight out of the camera for night photos. If you’re not a RAW person and absolutely insist on shooting JPEG, then manually set your white balance setting to Daylight and the colors should be close enough to accurate. Sometimes.
Why do you need a camera with a large sensor to get the kind of look shown in my star moai photo above? Will the iPhone or a simple point & shoot camera work?
No they will not.
I love the iPhone’s camera. Under the right circumstances, iPhones – or any other recent high end Android phone – are capable of taking excellent images provided the photographer knows what she is doing. However, in extreme low light situations like 3 AM Milky Way shots, these tiny devices simply do not have the light collecting ability to make a decent star photo. There are many technical reasons for this that I won’t go into here, but the basic problem is that the sensor and lenses of these cameras are too small and unable to adequately soak up the tiny amount of available light when it’s pitch black outside.
If you really, really want to take night pictures like this, but A) don’t want to spend a fortune on a new camera, and B) don’t want to lug around a huge DSLR camera and a heavy bag of glass, then here’s my recommendation on what to buy: get a Ricoh GR II.
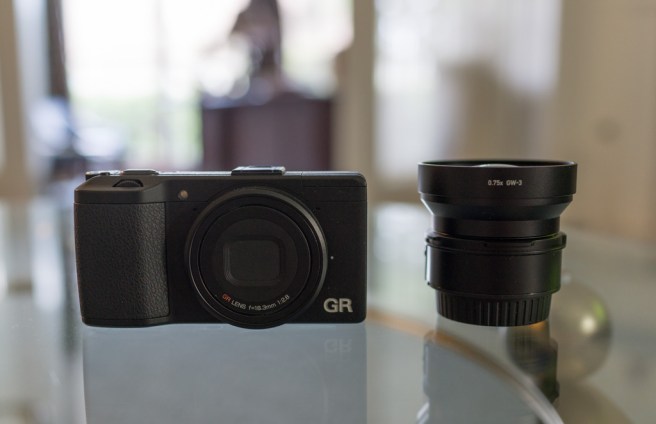
It’s small, fits in a pants pocket, is extremely light, has a large APS-C sensor, and can be bought brand new for less than $600. If your goal is small and light, you will not find a better deal for such a quality camera anywhere. This camera also has almost the same field of view as the iPhone camera, so if you’re comfortable shooting pictures with your phone, then transitioning to the GR will be a piece of cake. I didn’t take any star photos with my Ricoh GR during my Easter Island trip, but if you want to see an example of a night photograph shot with this camera, check out my photoessay post on my recent Crater Lake excursion.
So this concludes my Easter Island write ups. It is truly a remarkable, unique place that is like no other. Hopefully you’ve gleaned some useful information from reading about my own personal experience, and I encourage you to make your way out there if you haven’t yet been!
